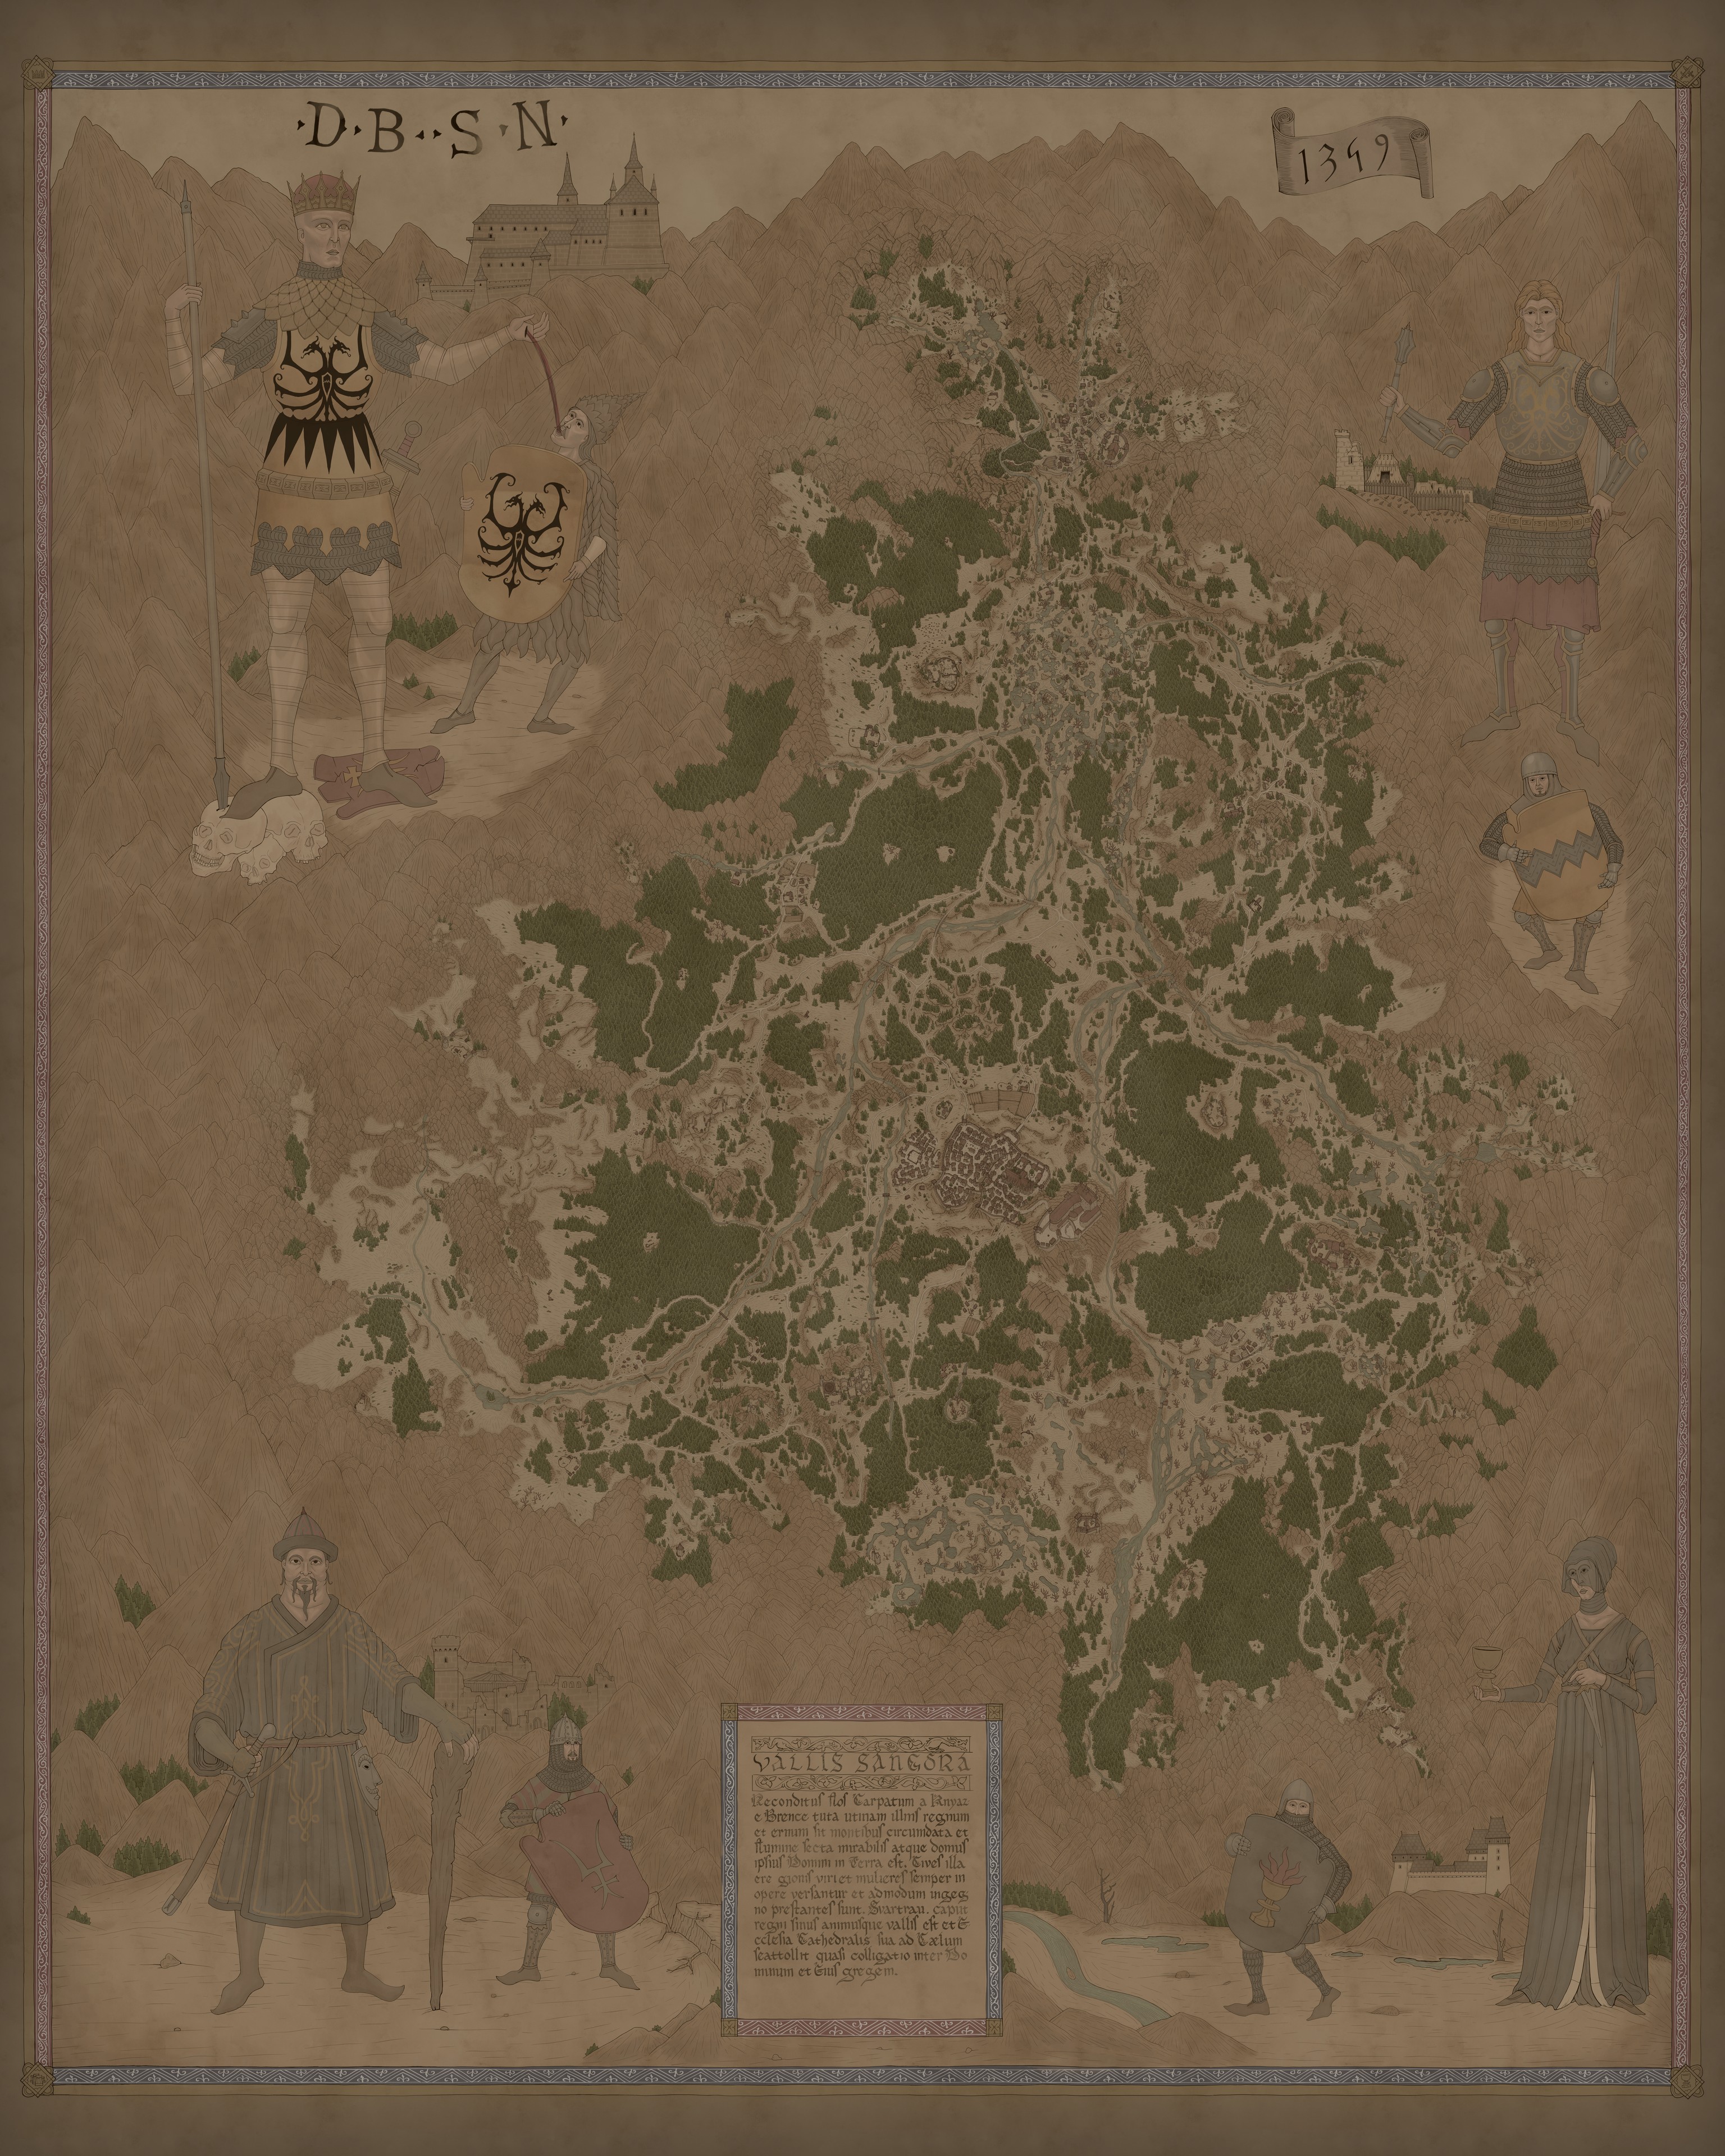
Uriash Village
Uriash Village is listed on its own instead of under a region, and its quests are reached through its own chain.
Open location guideLocations · World Guide
Find regions, cities, quest destinations, merchants and items across Vale Sangora.
Where are you trying to go?
Search a place name, a quest objective, a merchant type or an item name.
Find by what you need
Start from the task instead of the map. Each card jumps to the part of this page that answers it.
Find where a quest objective sends you.
Find blacksmiths, armorers, food vendors and specialists.
Find the shops and quest areas connected to an item.
Find travel points and cut down running across the map.
Find towers, forts, crypts and other named places.
Browse Vale Sangora area by area.
Common questions
The places readers ask about most, each answered with a direct link.
Explore first
Open with a broad region, then work inward through its settlements, districts and landmarks. Exploring is cheap, so treat this as a route that saves travel later rather than a spending decision.
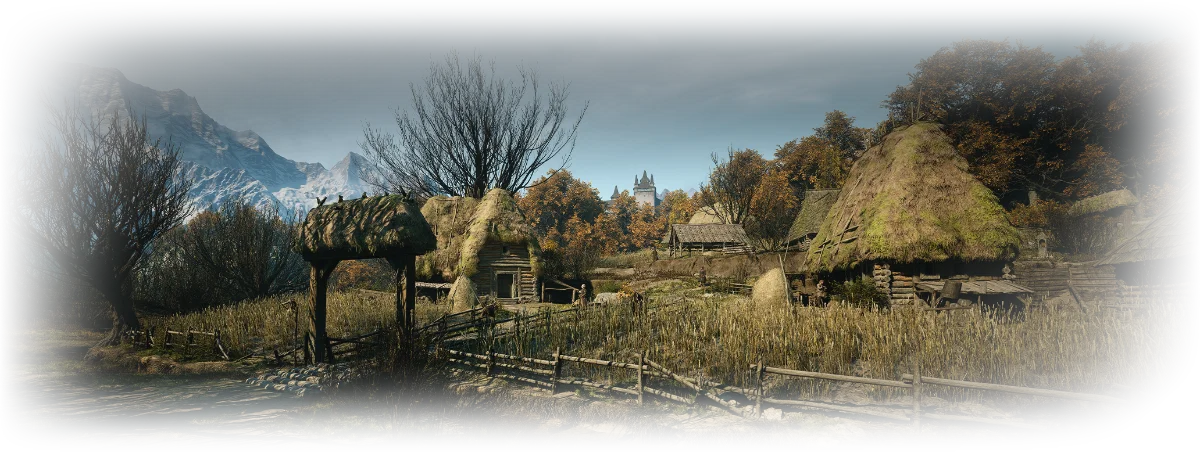
Region
Best for: Village services and woodland quest routes
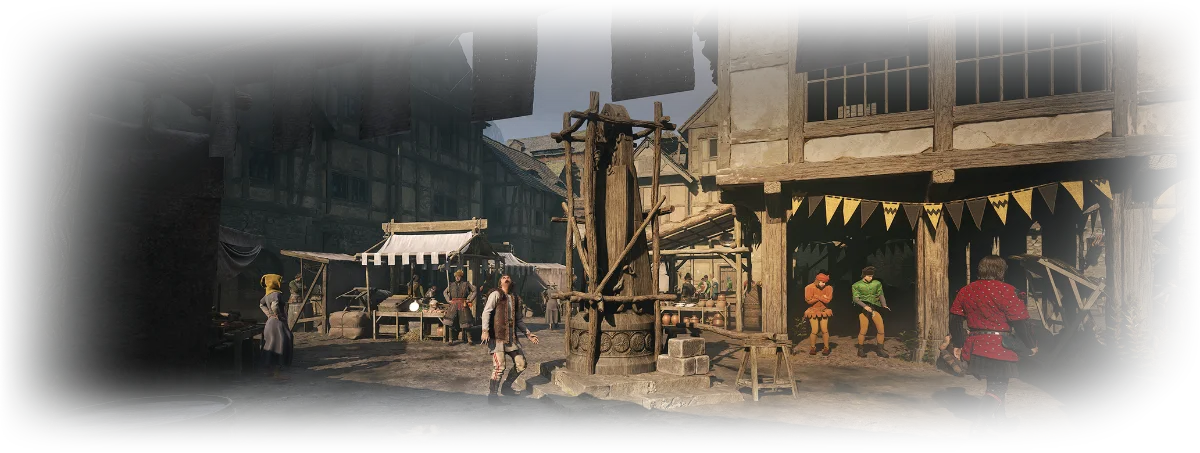
Region
Best for: Shops, quest hubs and Cathedral routes
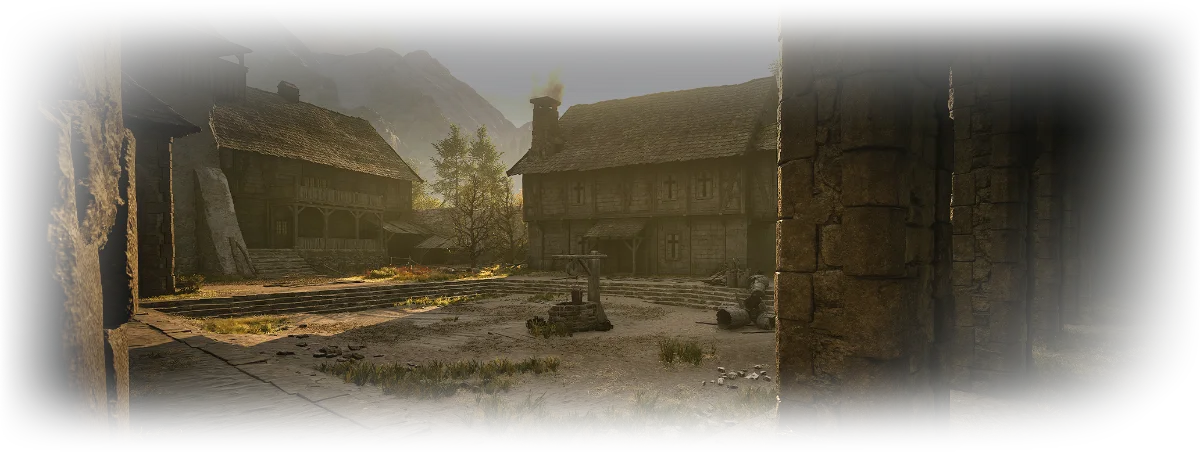
Region
Best for: Convent quests and quiet travel
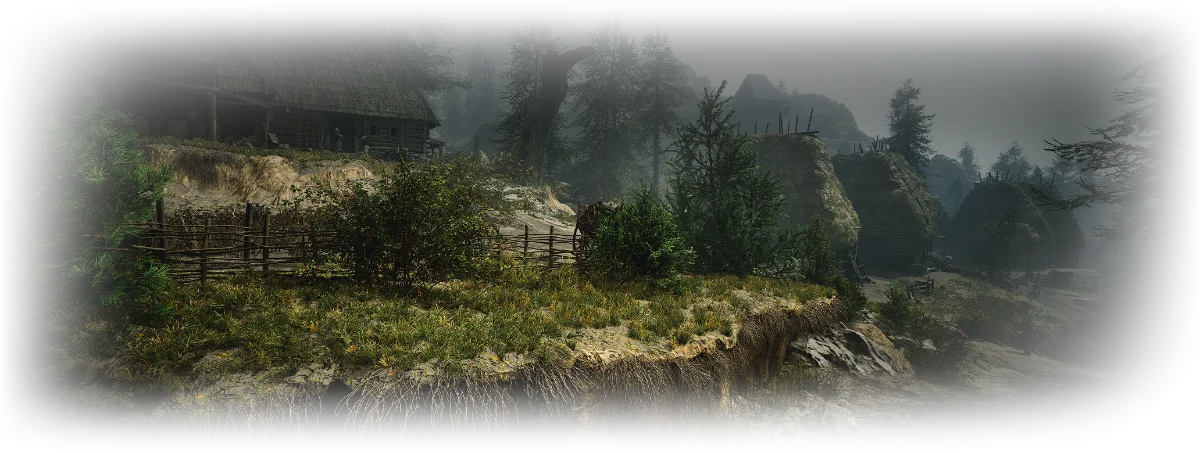
Region
Best for: Forest quest routes and travel
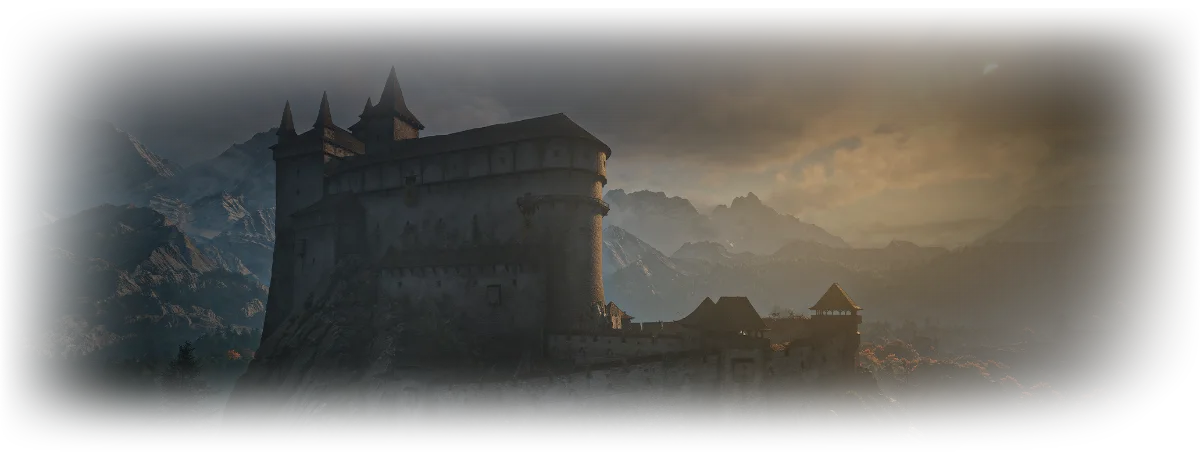
Region
Best for: Court quest routes and castle travel
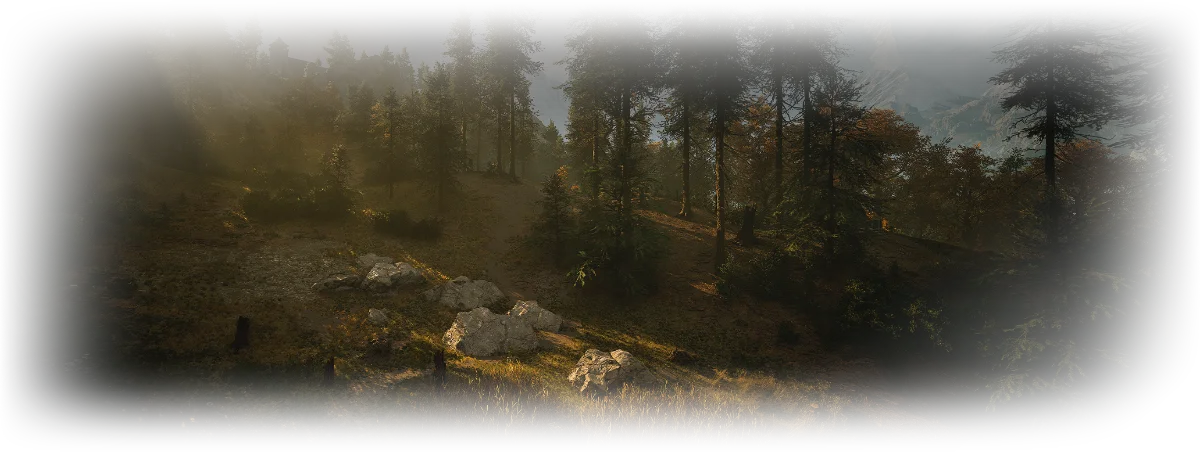
Region
Best for: Monastery quests and merchant stops
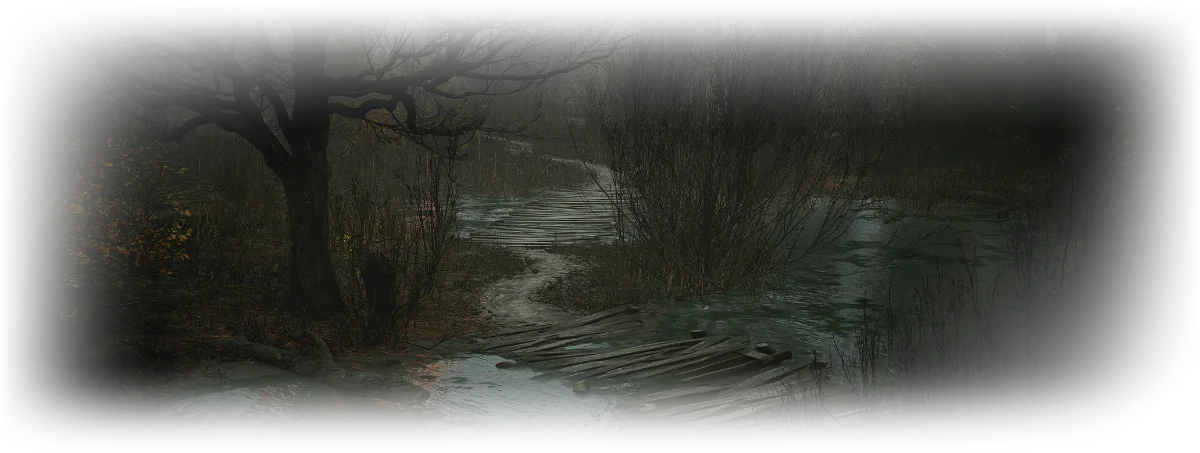
Region
Best for: A remote merchant and wilderness travel
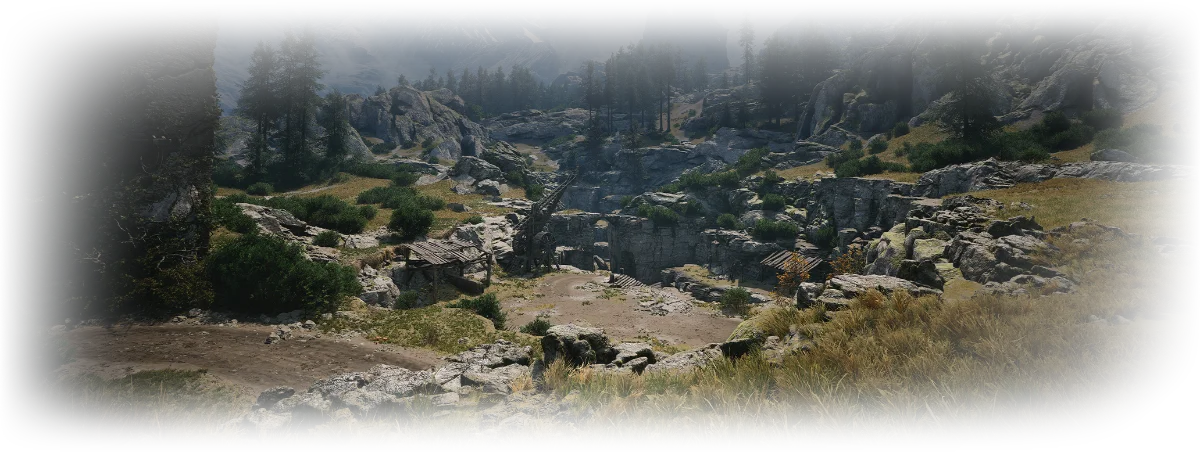
Region
Best for: Parlita shops and mountain travel
Region
Best for: Outlying quest context
Know the world
Places nest. The same spot can be a region, a settlement inside it, and a named landmark inside that, which is why this guide lists a parent for each entry.
11 scouting towers stand across the map, alongside 119 recorded travel points and 8 villages. Climb a tower to scout the surrounding area and discover nearby activities.
Map discovery
Reaching a scouting tower’s top needs the Vrakhiri form plus the Shadowstep and Planeshift abilities, so a tower can stay out of reach until you have them.
Once revealed, an activity can still be marked only as “?”. Walk up to it to identify whether it is a shrine, a merchant, a quest or something else.
Not simply a walk away
Some places are not opened just by walking there. These are the ones this guide tracks with a condition attached.
Uriash Village is listed on its own instead of under a region, and its quests are reached through its own chain.
Open location guideOne Cathedral objective sits inside a night-only step, so the entrance you need depends on your current objective.
Open location guideShops and services
Pick what you need to buy. Each group lists the areas where that merchant type is known to trade.
Found at:LasleaBoar's BackParlitaSvartrau AltenmarktSvartrau CitySvartrau SilberkreisTantari VillageTantari WoodsUriash Village
Found at:Maragir WealdsSvartrau AltenmarktSvartrau CitySvartrau ChertwallsSvartrau SilberkreisTantari VillageTantari Woods
Found at:Svartrau CitySvartrau Main SquareMaragir WealdsBoar's BackParlitaSvartrau AltenmarktSvartrau ChertwallsSvartrau SilberkreisSvartrau Outskirts
Found at:Maragir WealdsSvartrau AltenmarktSvartrau CitySvartrau Silberkreis
Found at:Briar SloughsSvartrau AltenmarktSvartrau CitySvartrau ChertwallsSvartrau SilberkreisTantari VillageTantari WoodsUriash Village
Skill manuals are sold by merchants and found in the world. The manuals guide lists them by the skill they teach.
Item sources
Type an item name to see the shops and quest areas connected to it. Open the item page for stats and full detail.
Search a place name, a quest objective, a merchant type or an item name.
Worth knowing
The named places readers look up most often, each with its own guide.
Landmark · Svartrau City
Landmark · St. Tyna's Grove
Region
Landmark
Landmark
Landmark
Sublocation · Svartrau Cathedral
Browse every guide
Filter by name, type or parent area. The counts show how much quest and shop content each place carries.
| Location | Type | Parent | Quests | Shops | Map | Page |
|---|---|---|---|---|---|---|
| Anachora | Region | — | 1 | — | — | View location → |
| Boar's Back | Region | — | — | 2 | ✓ | View location → |
| Briar Sloughs | Region | — | — | 1 | — | View location → |
| Greifberg Castle | Region | — | 6 | — | — | View location → |
| Laslea Glen | Region | — | 7 | — | — | View location → |
| Maragir Wealds | Region | — | 3 | 3 | ✓ | View location → |
| Rockfalls | Region | — | — | — | — | View location → |
| St. Tyna's Grove | Region | — | 2 | — | — | View location → |
| Svartrau City | Region | — | 14 | 18 | ✓ | View location → |
| Tantari Woods | Region | — | 3 | 3 | ✓ | View location → |
| The Silts | Region | — | — | — | — | View location → |
| Laslea | Settlement | Laslea Glen | 7 | 1 | ✓ | View location → |
| Parlita | Settlement | Boar's Back | 3 | 2 | ✓ | View location → |
| Tantari Village | Settlement | Tantari Woods | 3 | 3 | ✓ | View location → |
| Uriash Village | Settlement | — | 3 | 2 | ✓ | View location → |
| Svartrau Altenmarkt | District | Svartrau City | 3 | 8 | ✓ | View location → |
| Svartrau Chertwalls | District | Svartrau City | — | 4 | ✓ | View location → |
| Svartrau Main Square | District | Svartrau City | — | 1 | ✓ | View location → |
| Svartrau Outskirts | District | Svartrau City | 2 | 1 | ✓ | View location → |
| Svartrau Silberkreis | District | Svartrau City | 2 | 6 | ✓ | View location → |
| The Middens | District | Svartrau City | 3 | 1 | ✓ | View location → |
| Abandoned Fort | Landmark | — | 2 | — | — | View location → |
| Altenmarkt Inn | Landmark | Svartrau Altenmarkt | 2 | — | — | View location → |
| Eastridge Outpost | Landmark | — | 1 | — | — | View location → |
| Maragir Monastery | Landmark | Maragir Wealds | 1 | — | — | View location → |
| Old Inn near St. Tyna's | Landmark | St. Tyna's Grove | 2 | — | — | View location → |
| Silberkreis Inn | Landmark | Svartrau Silberkreis | 2 | — | ✓ | View location → |
| St. Teotim's Church | Landmark | The Middens | 1 | — | — | View location → |
| St. Tyna's Convent | Landmark | St. Tyna's Grove | 3 | — | — | View location → |
| Stoneward Post | Landmark | — | 3 | — | — | View location → |
| Svartrau Asylum | Landmark | Svartrau City | 2 | — | — | View location → |
| Svartrau Cathedral | Landmark | Svartrau City | 2 | — | — | View location → |
| Svartrau Outskirts Inn | Landmark | Svartrau Outskirts | 2 | — | ✓ | View location → |
| The Astrologer's Tower | Landmark | — | 1 | — | — | View location → |
| Cathedral Courtyard | Sublocation | Svartrau Cathedral | 1 | — | — | View location → |
| Cathedral Library | Sublocation | Svartrau Cathedral | 1 | — | — | View location → |
| Cathedral Treasury | Sublocation | Svartrau Cathedral | 1 | — | — | View location → |
| St. Mihai's Crypt | Sublocation | Svartrau Cathedral | 1 | — | — | View location → |
Quick answers
This guide currently documents 11 regions of Vale Sangora, from Svartrau City and Laslea Glen to outer areas such as Rockfalls and The Silts.
Climb a scouting tower to reveal nearby activities. Reaching the top needs the Vrakhiri form and the Shadowstep and Planeshift abilities.
Fast travel uses the travel points you have already found. The map’s Fast Travel filter shows the 119 recorded points.
Uriash Village is listed on its own rather than under a region, and its content opens through its quest chain.
Use the merchant groups above, or search a merchant type such as “blacksmith” to see the areas where it trades.
The open world becomes reachable as the story progresses, but many named activities and interiors still depend on discovery or on your current quest state.
No. A map point can be useful without needing its own full guide, so minor points stay in this list instead of becoming a thin page.
No. An area marker helps you reach the right part of the world, while an exact pin marks a precise position.